How to change the stereo in a P11-144By Phil_G |
|
Overview |
|
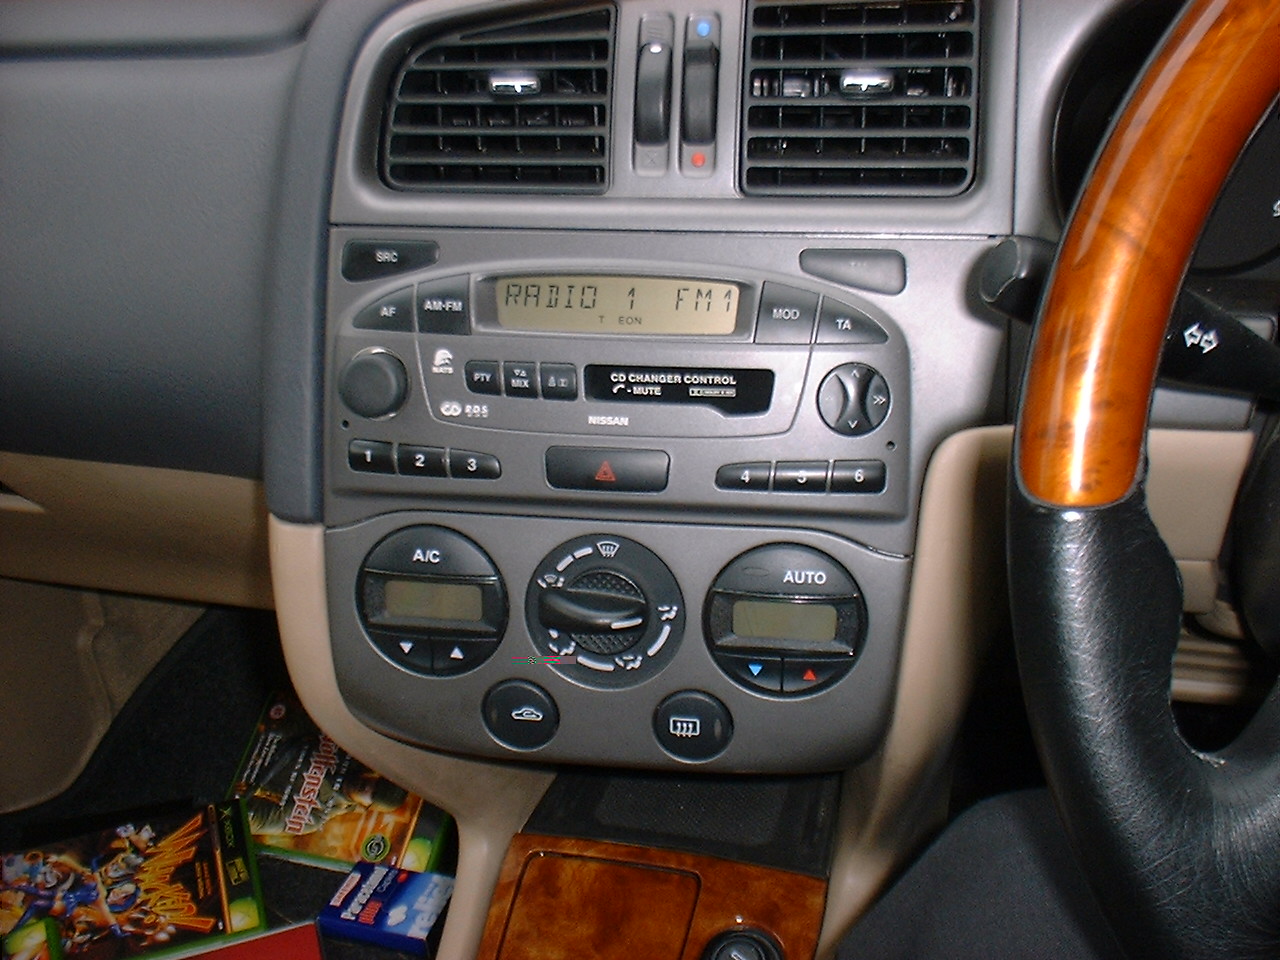
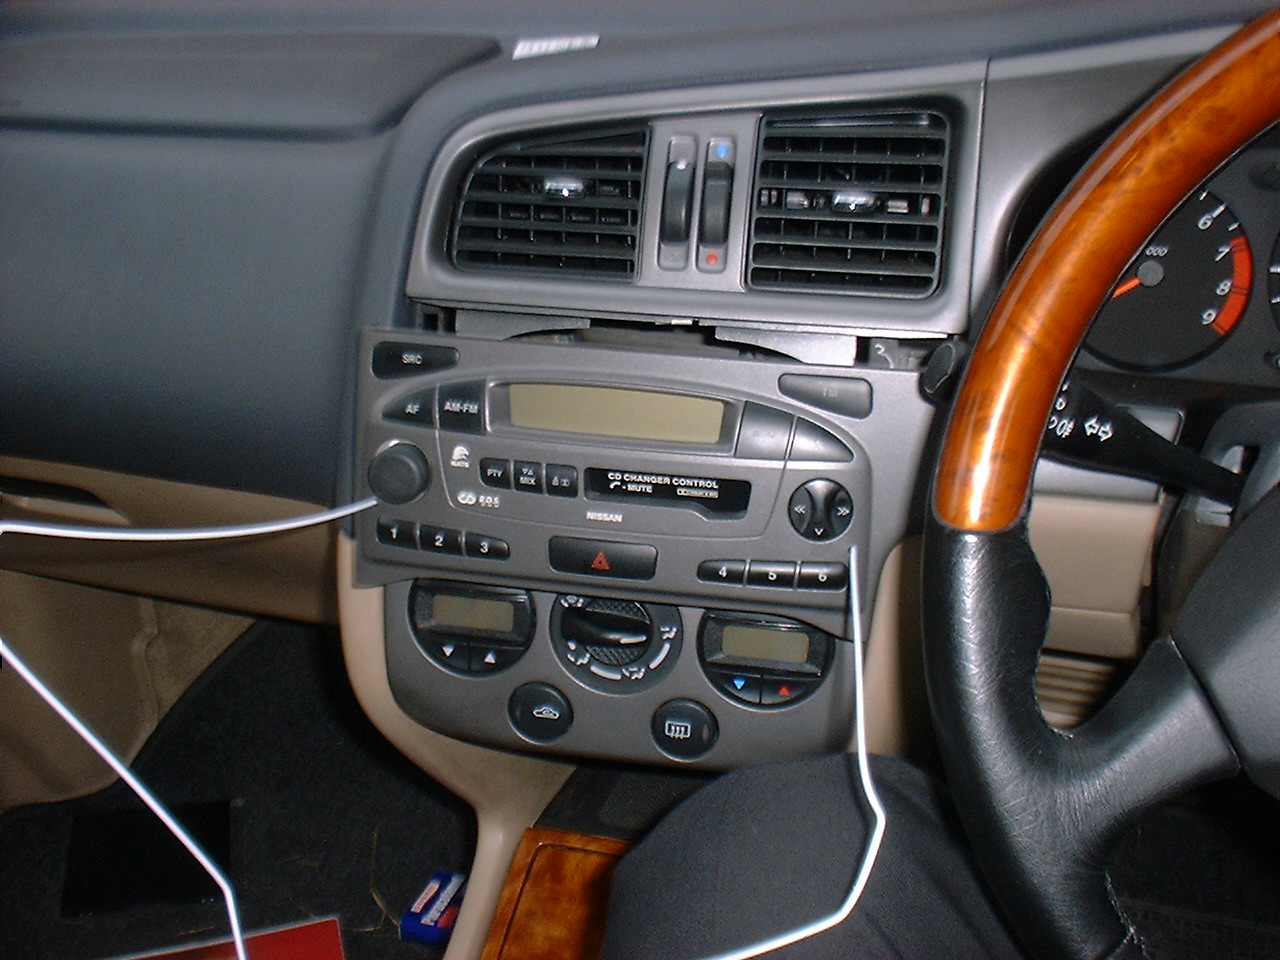
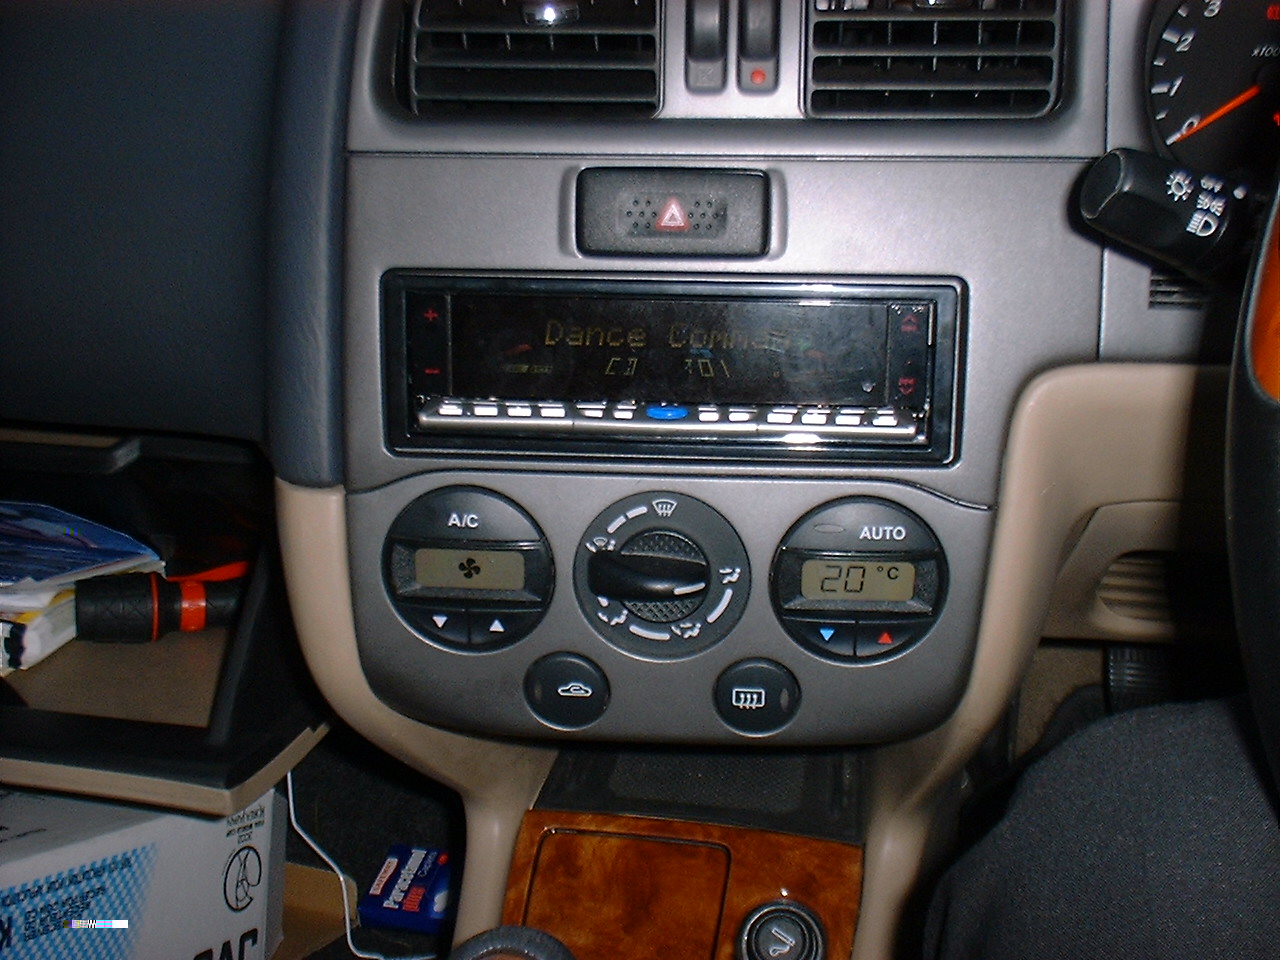
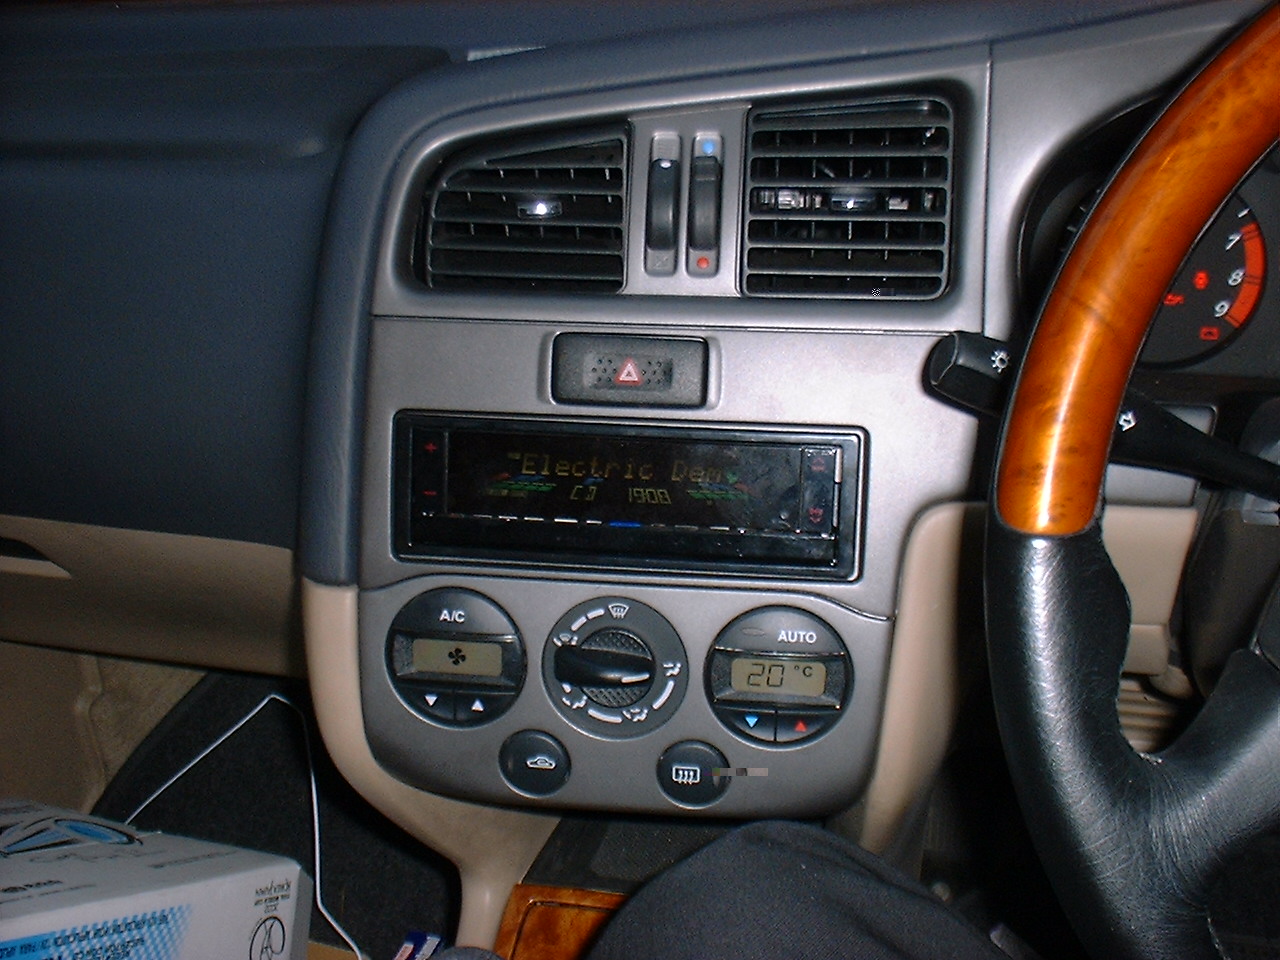
| Factory Stereo | Image |
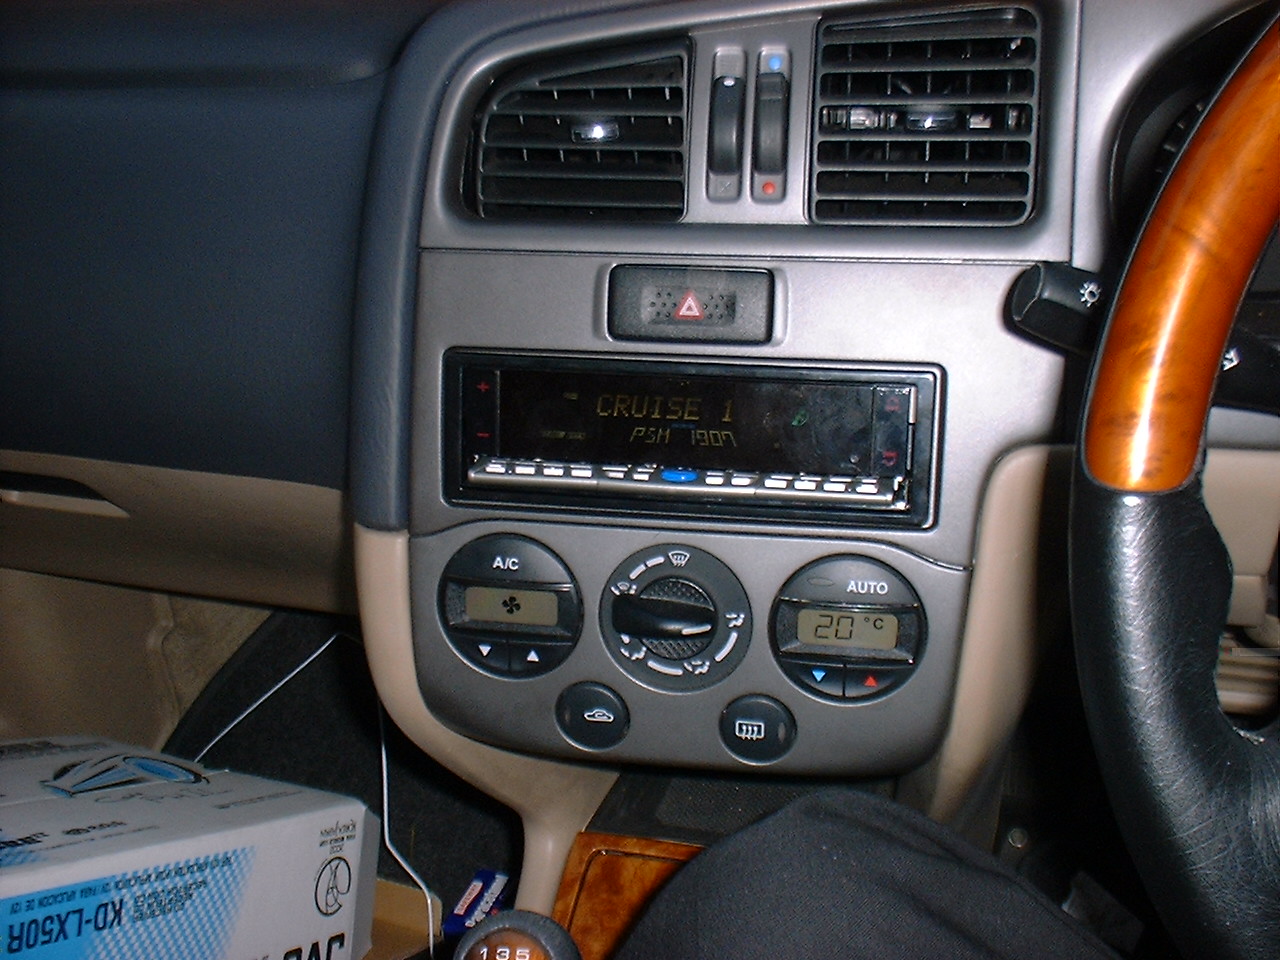
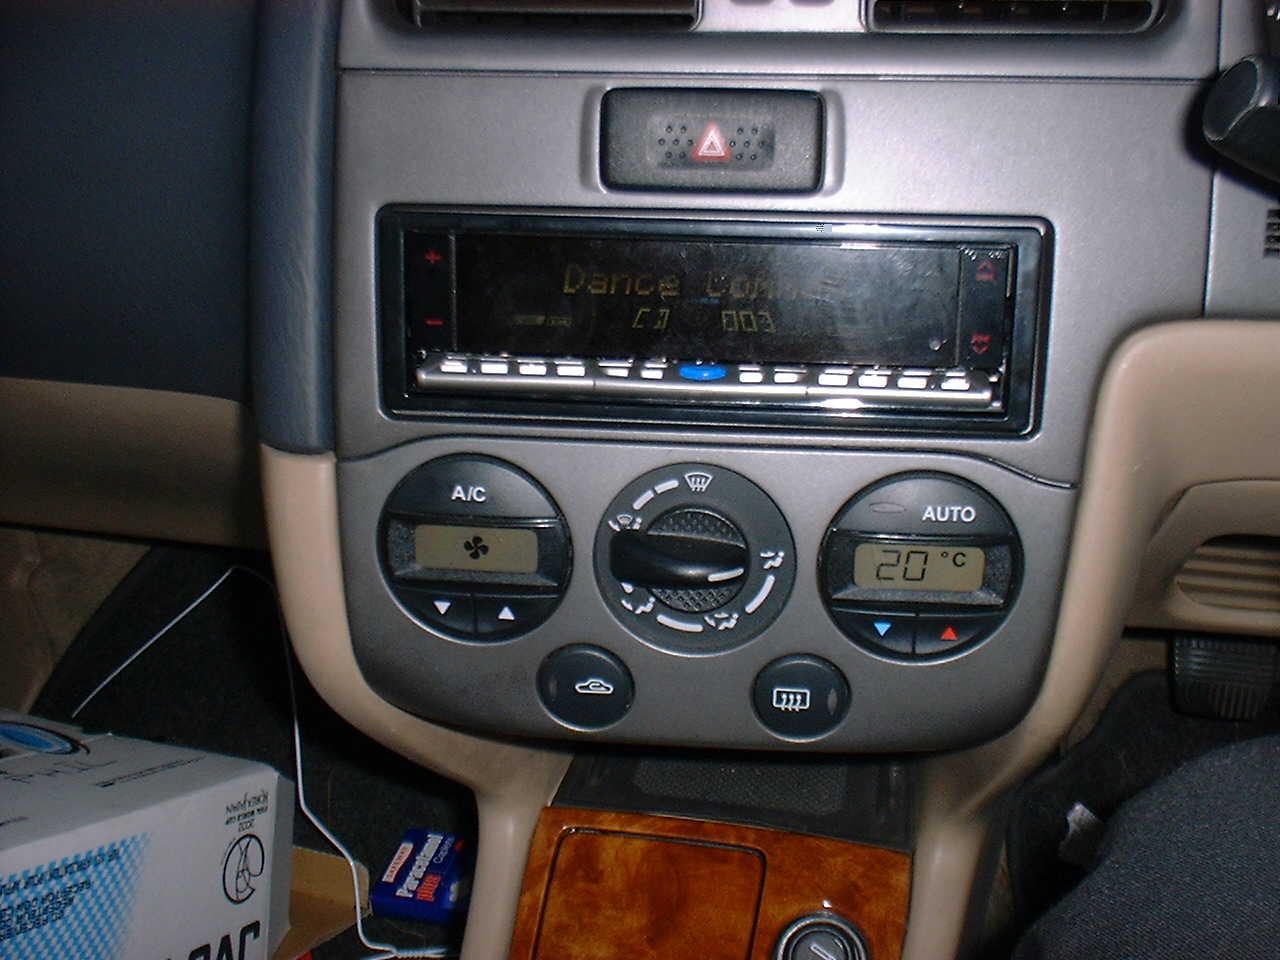
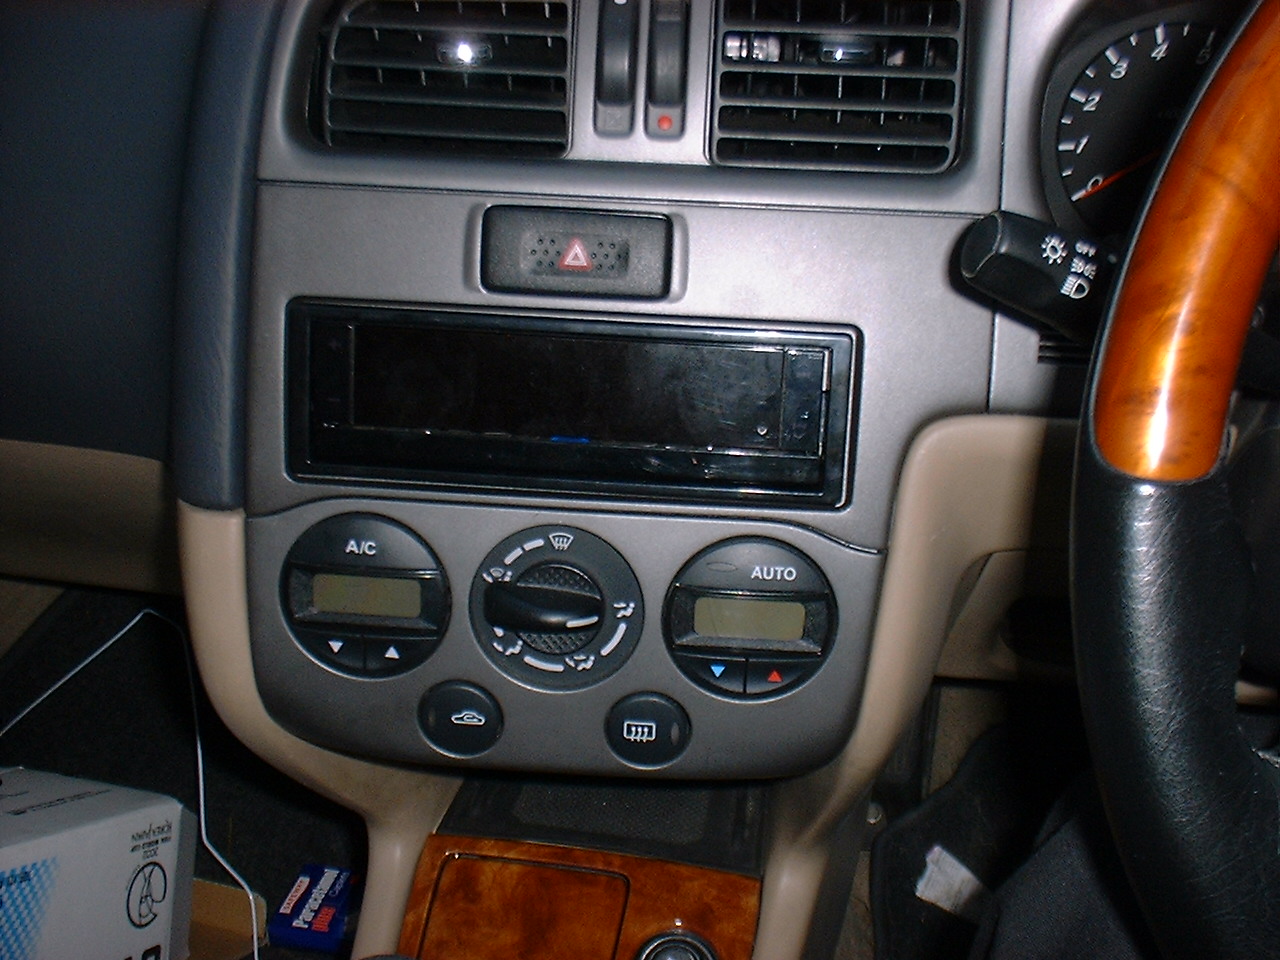
| Replaced Stereo | Image |
The Parts |
|
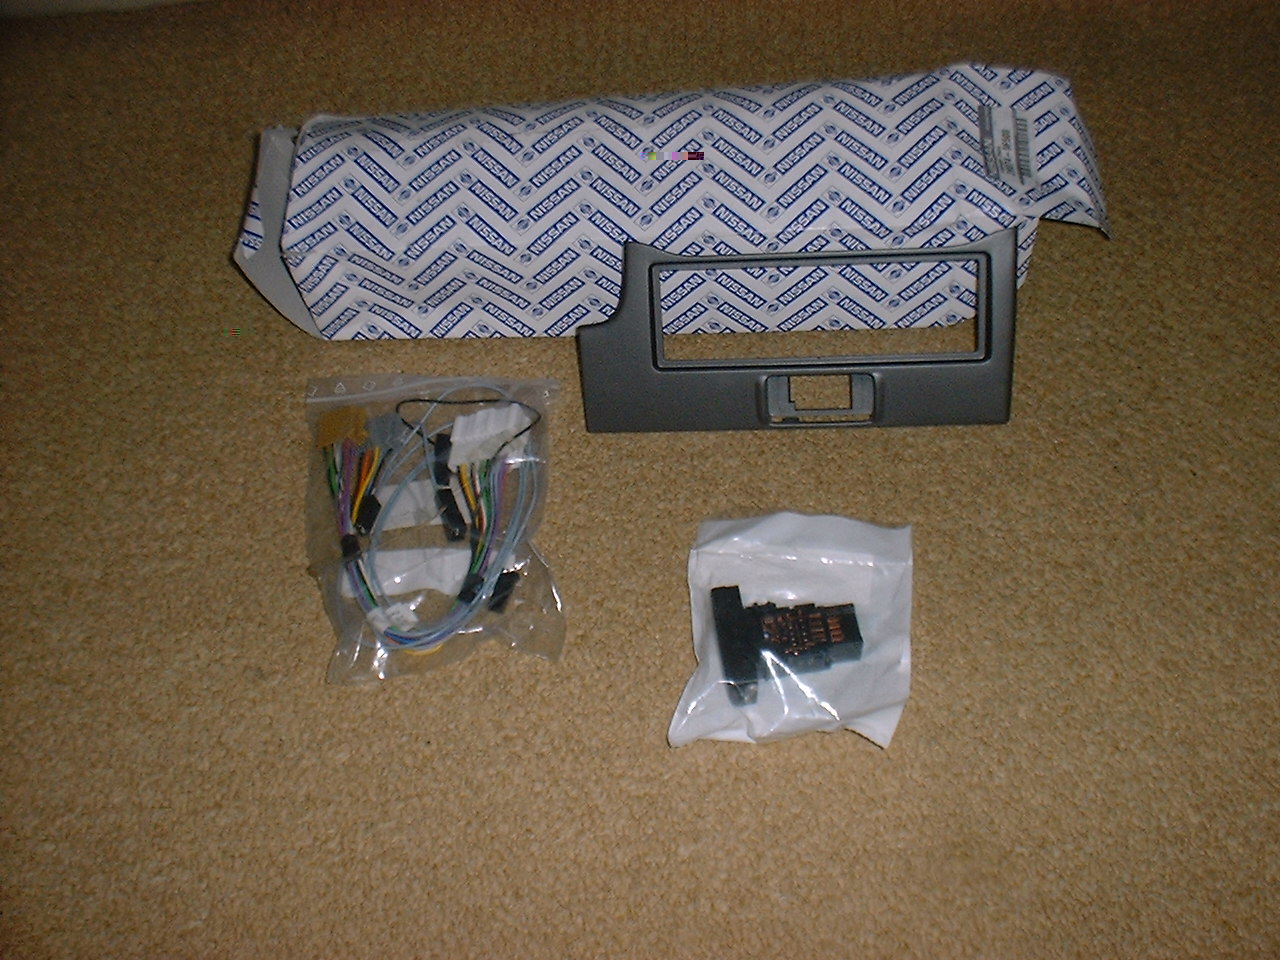
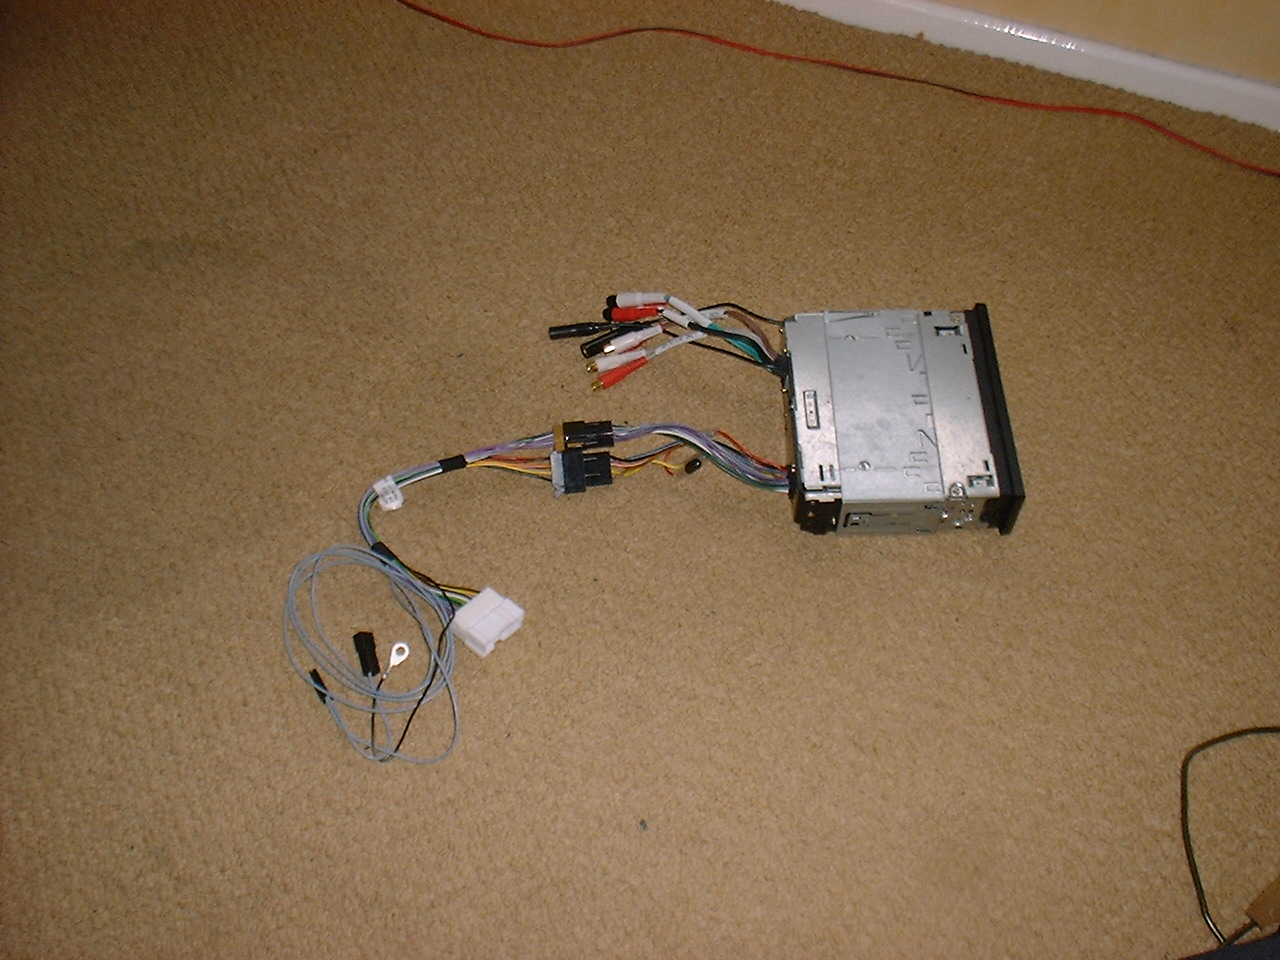
| All The Bits | Image |
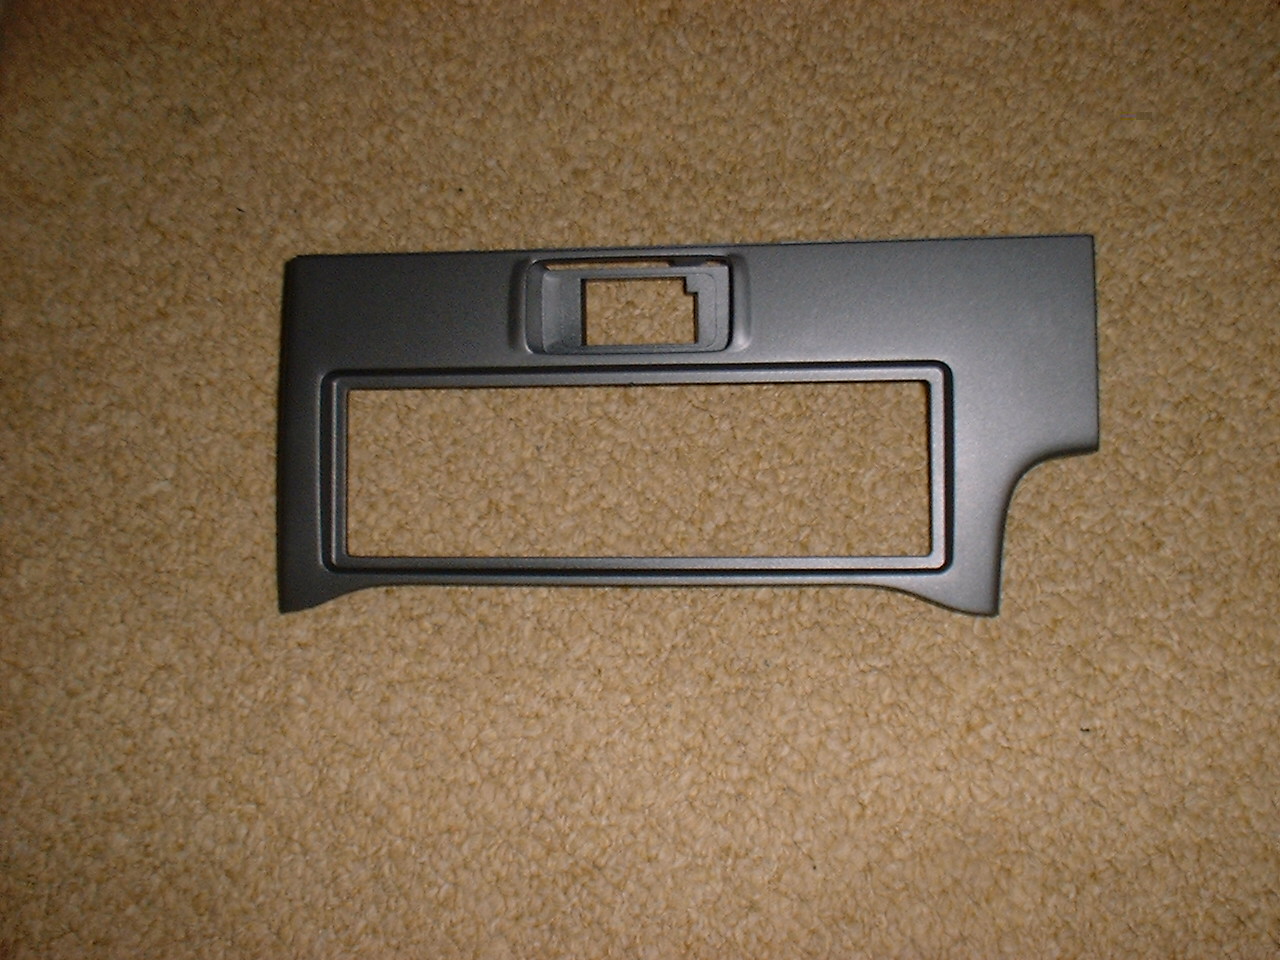
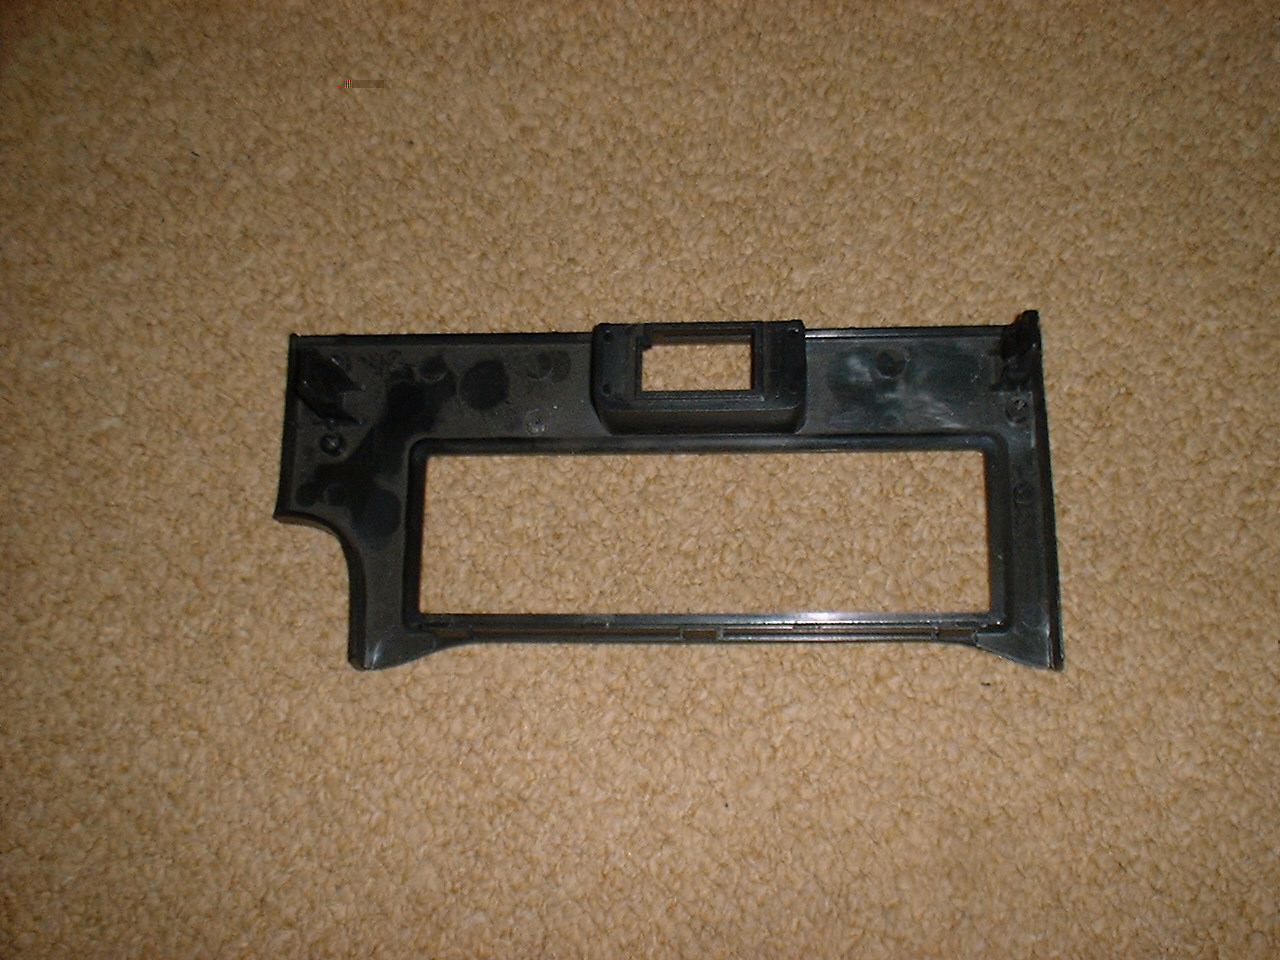
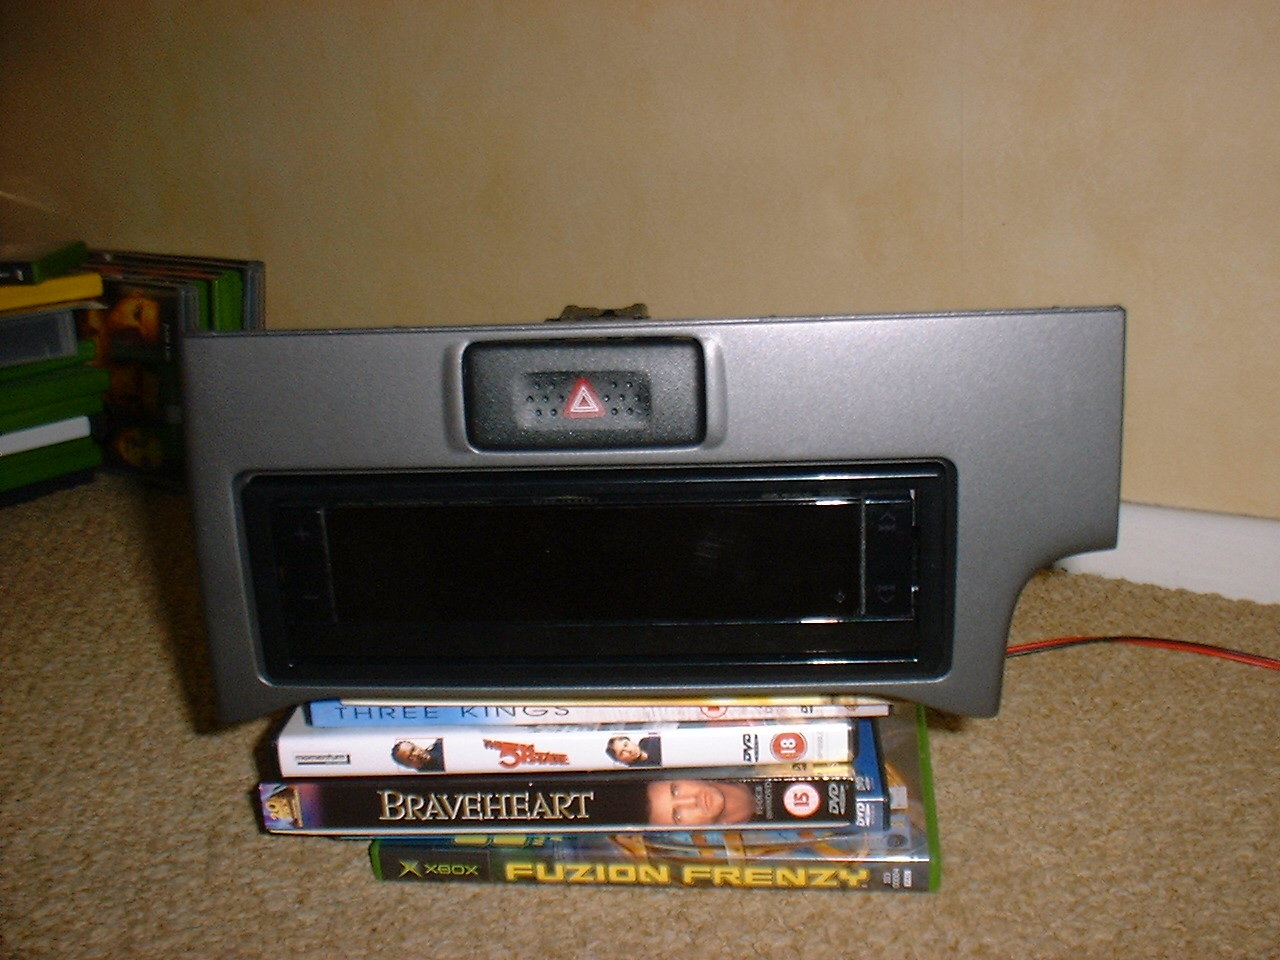
| Facia Plate | Front Back |
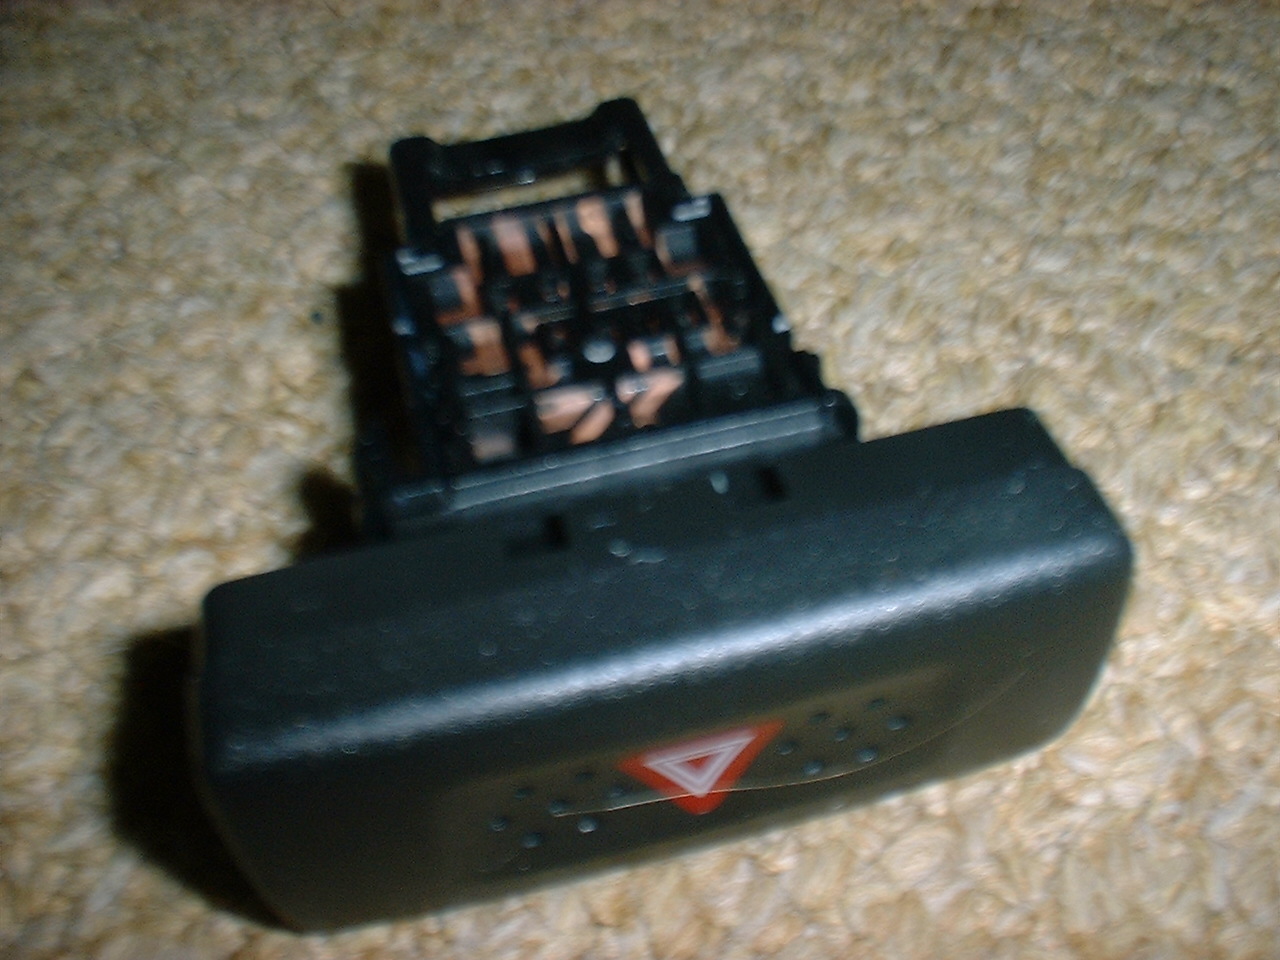
| Hazard Switch | Image |
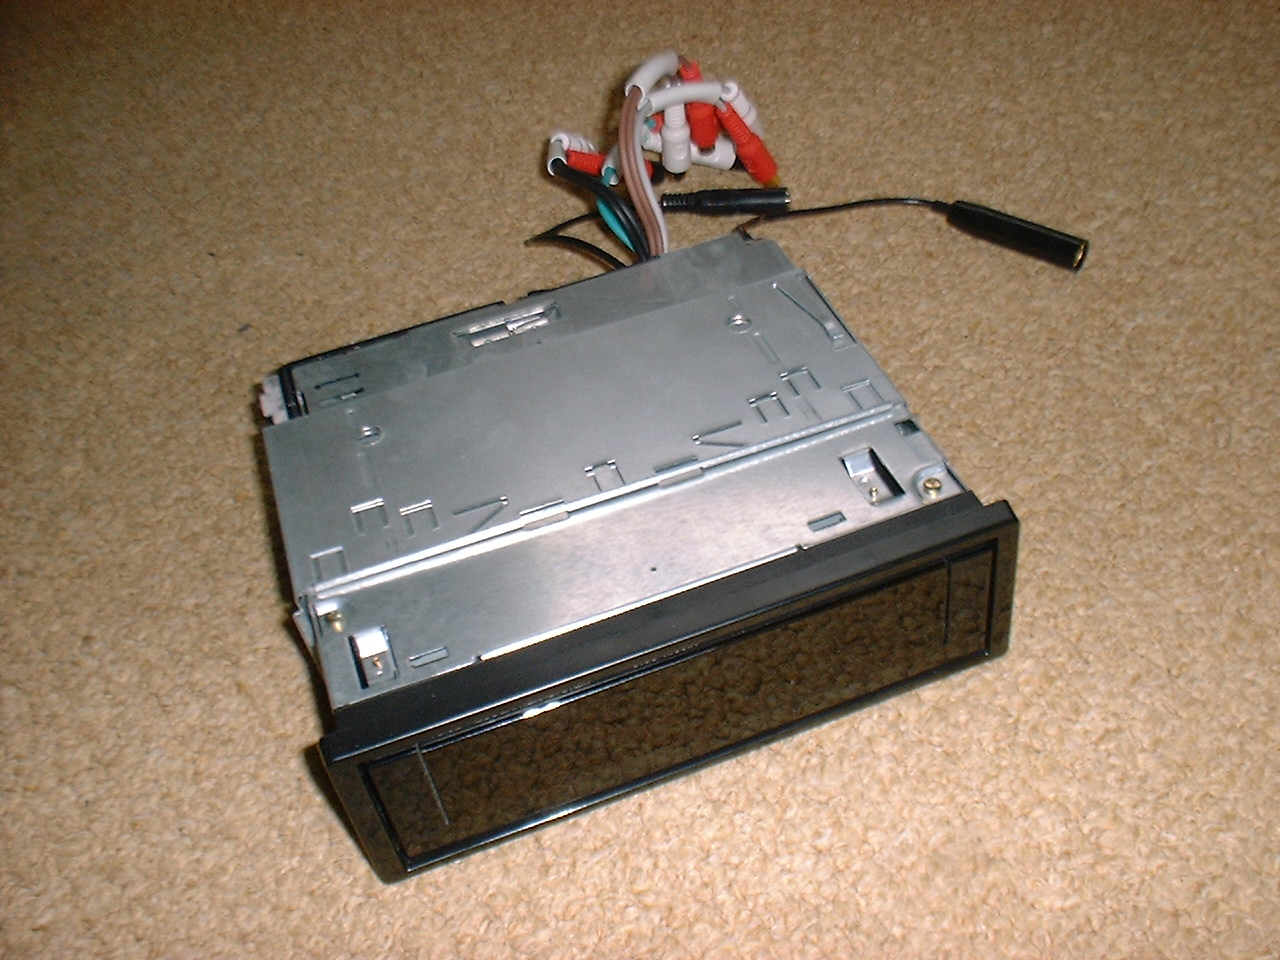
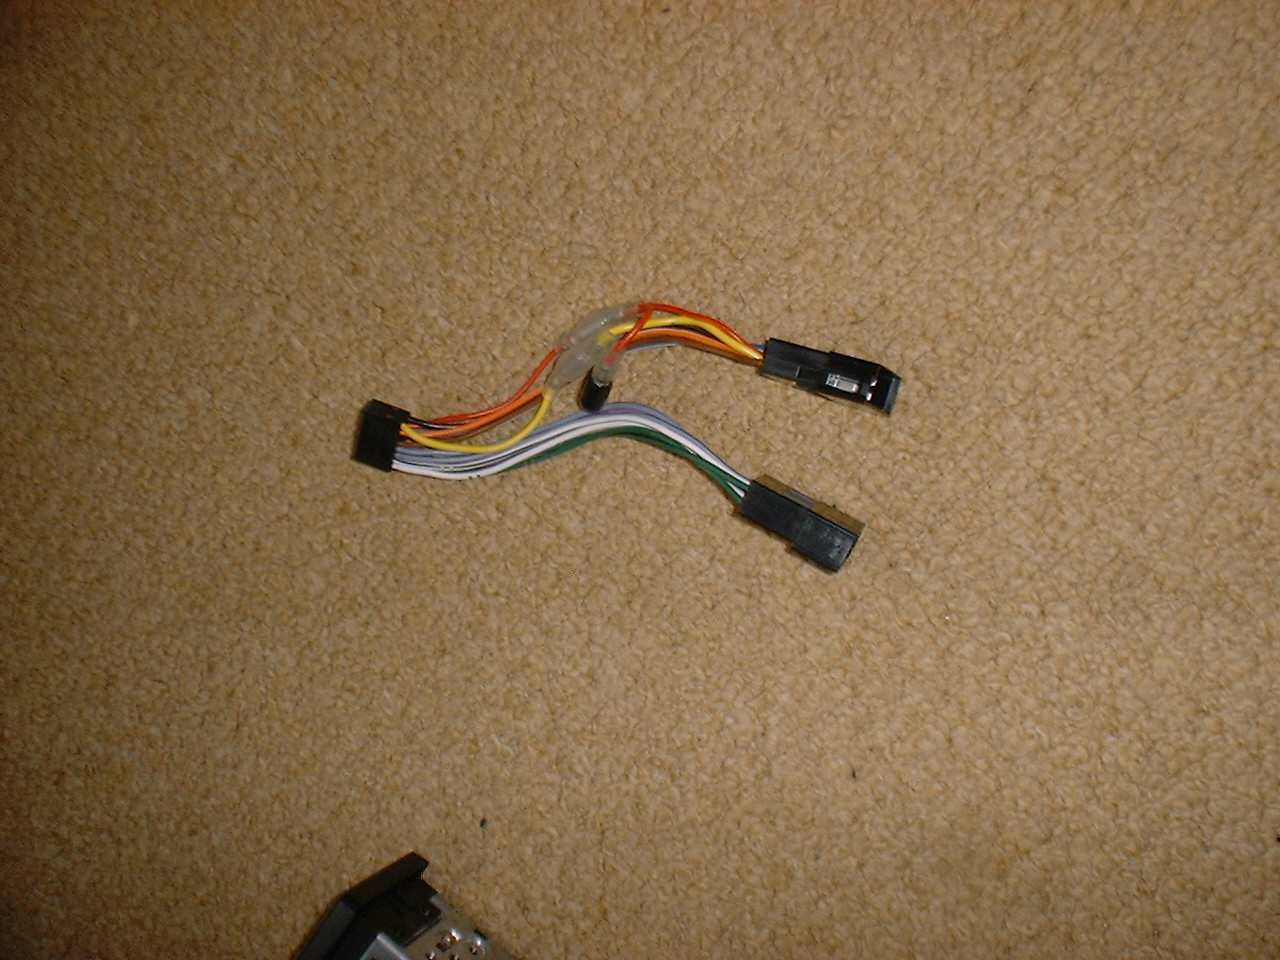
| Head Unit | Image ISO Loom Assembled |
| Preview | Image |
Removal |
|
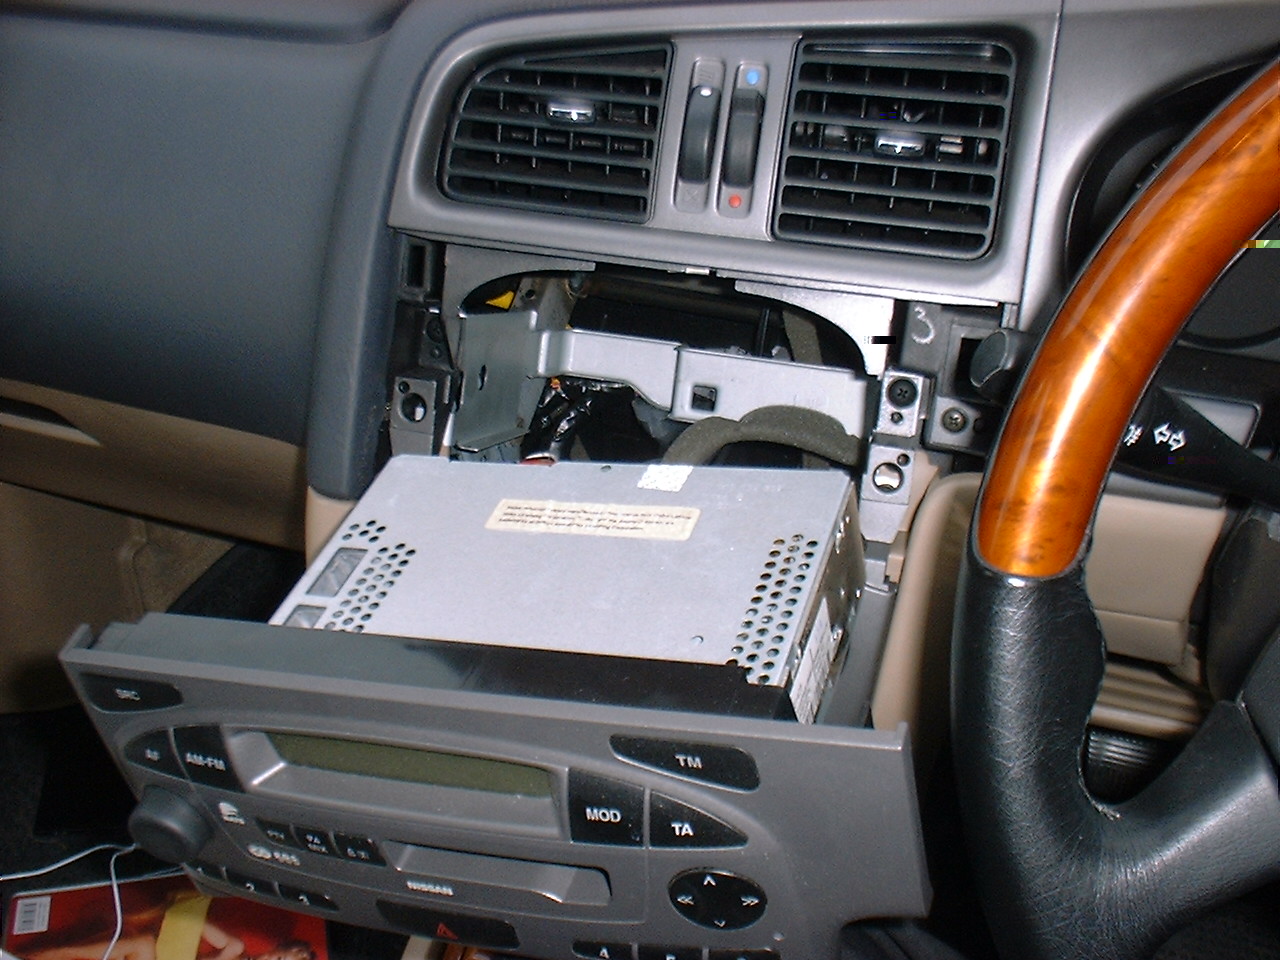
| Insert two wire prongs into the holes (I used a coat hanger cut in half). Once inserted, but a finger in the tape deck and pull | Image Image Image |
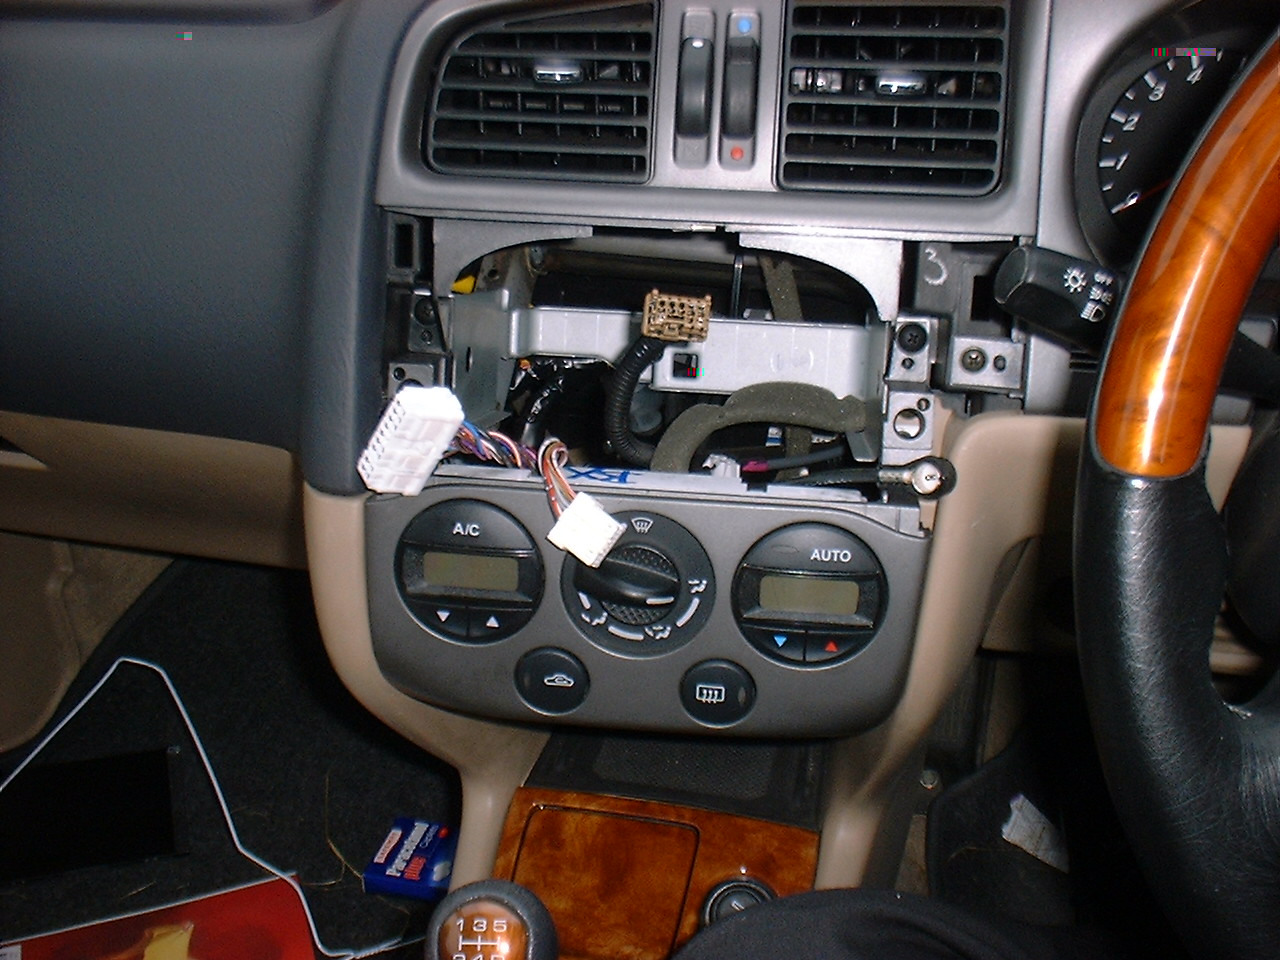
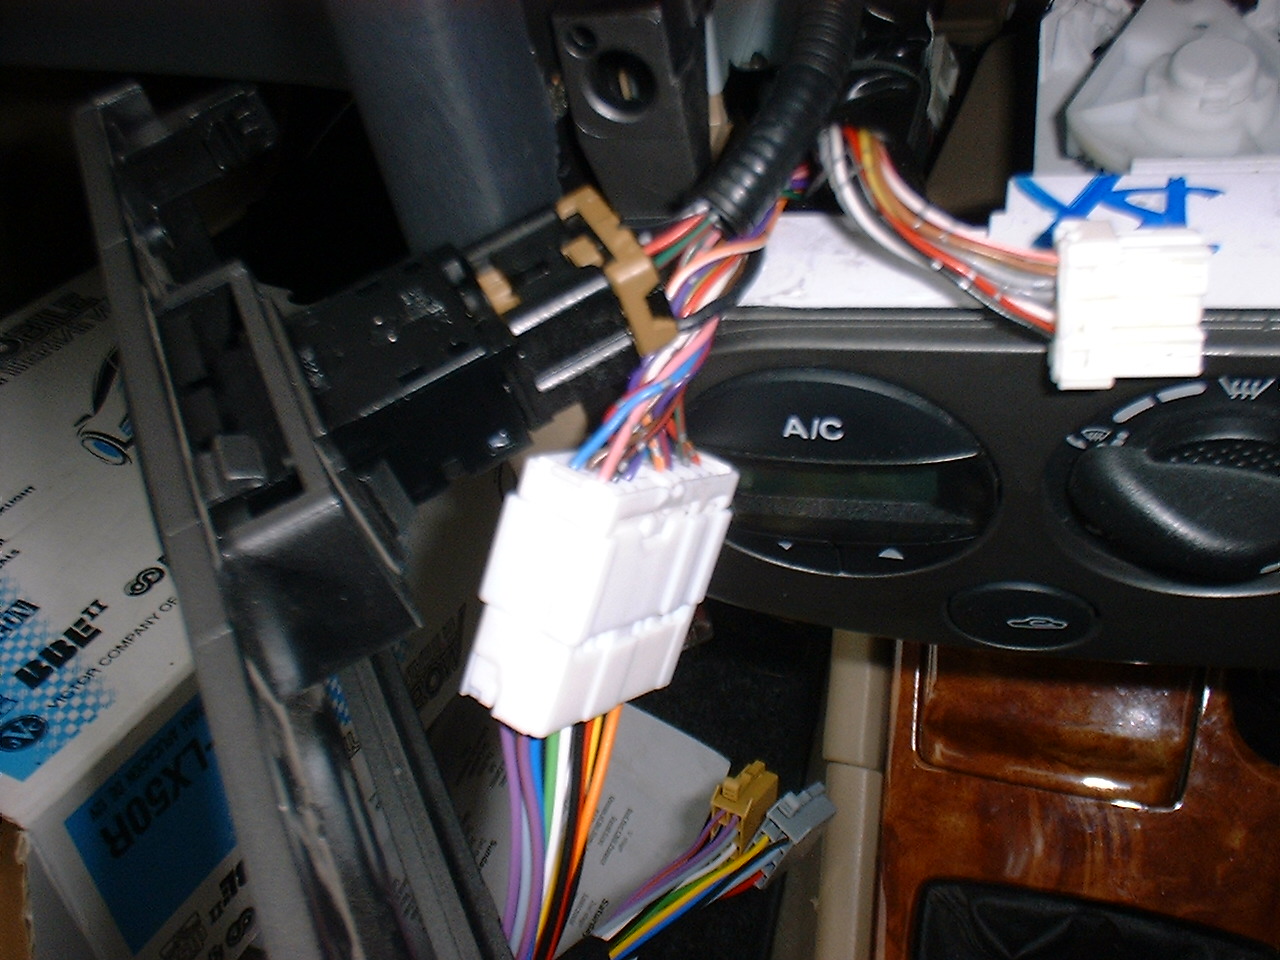
| Disconnect the three plugs from the back (Stereo, hazard and cd changer). I needed a screwdriver to remove the stereo plun (the large white one) | Image |
Preping |
|
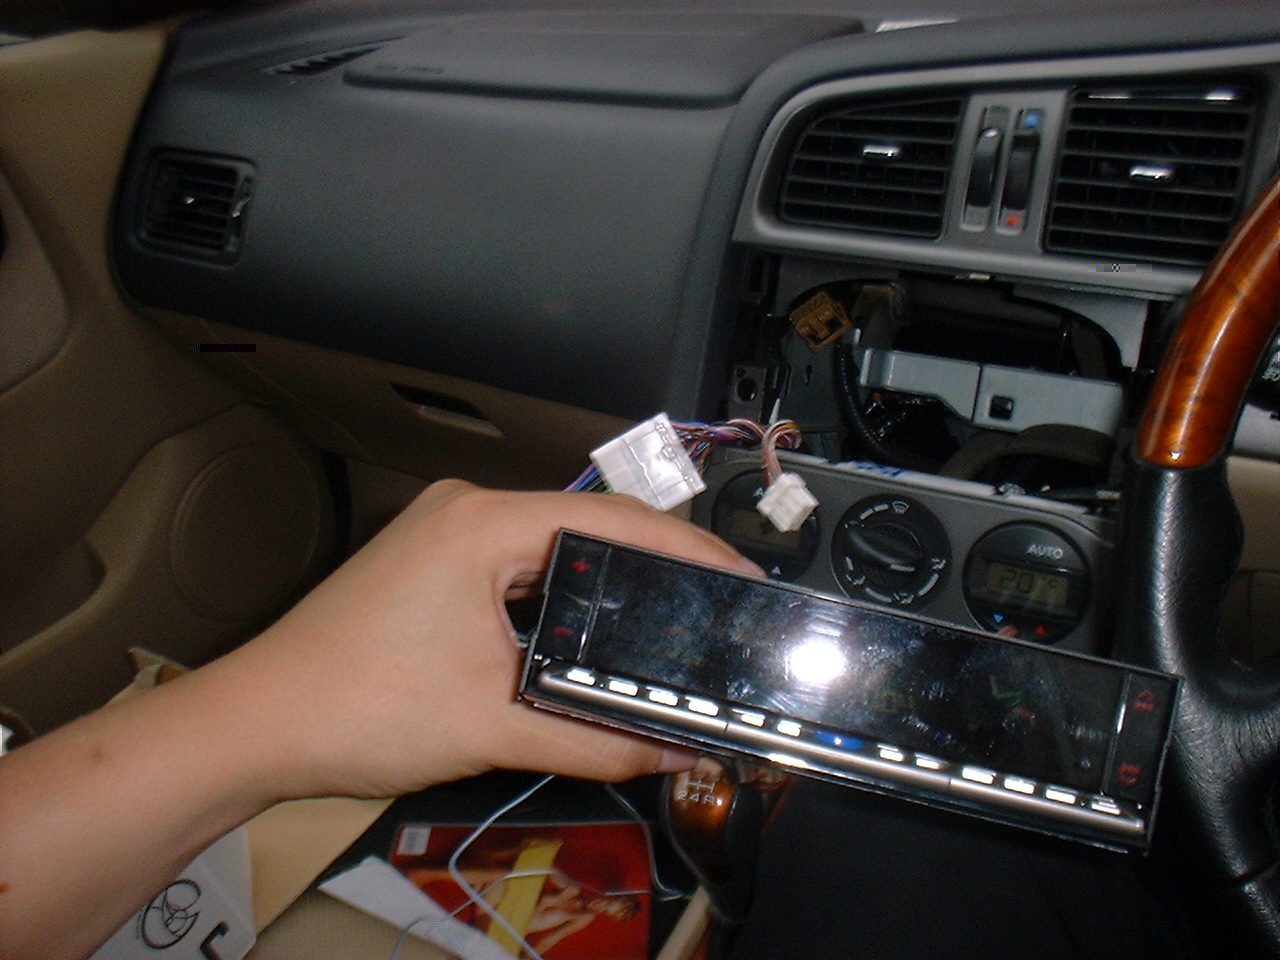
| Check that the stereo works by connecting it to the large white plug | Image |
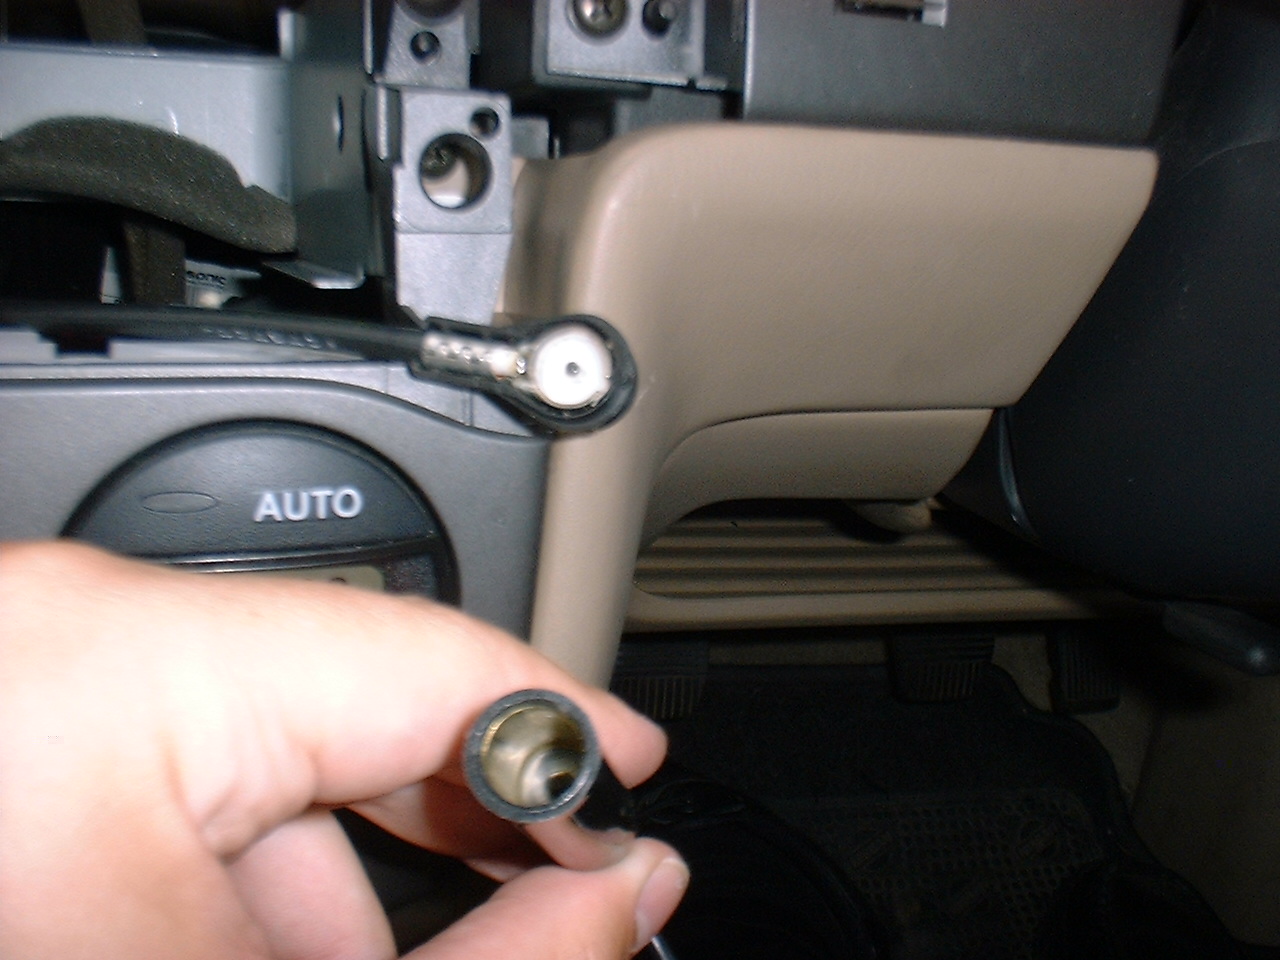
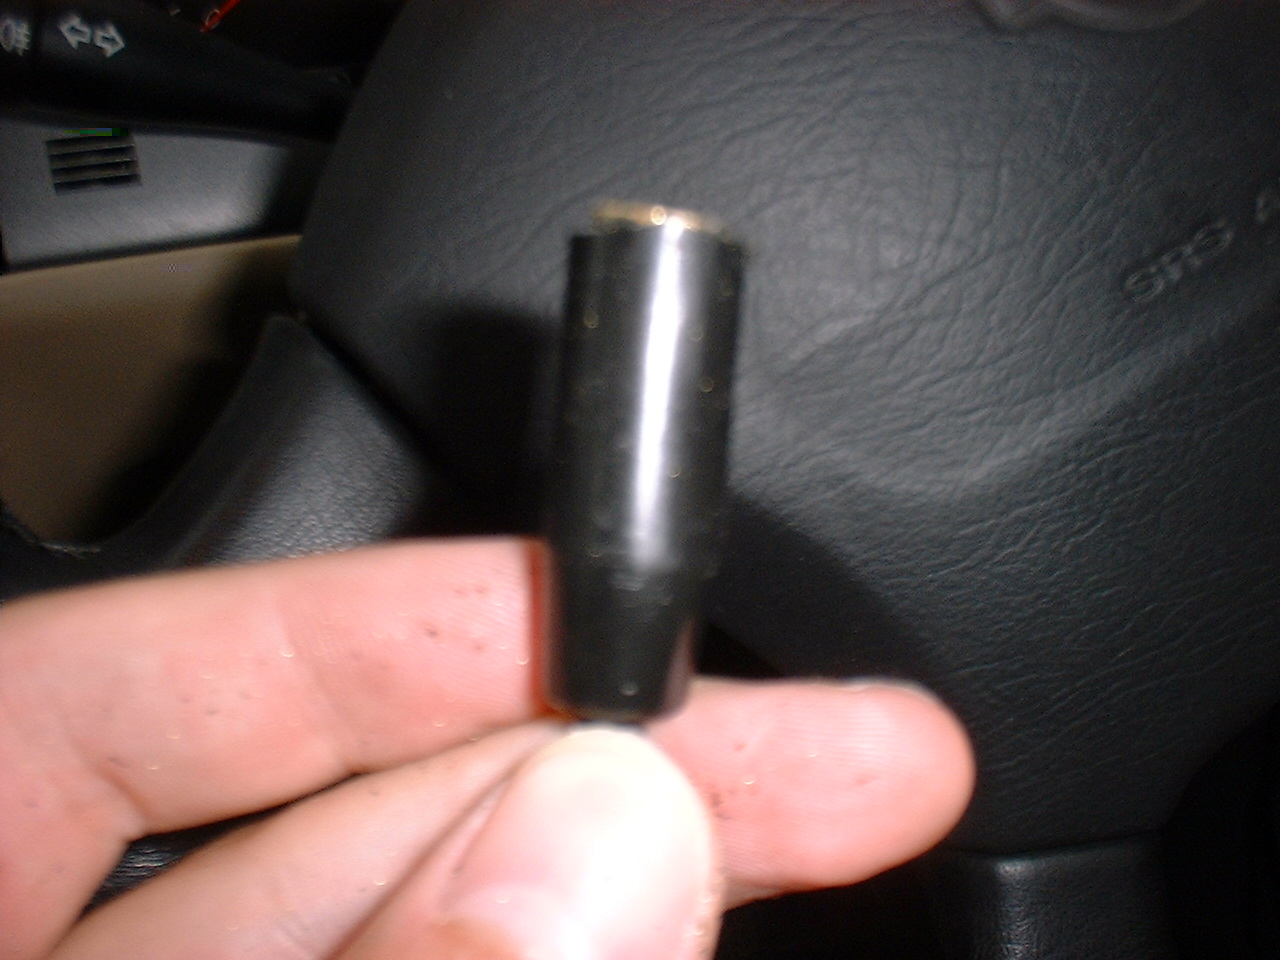
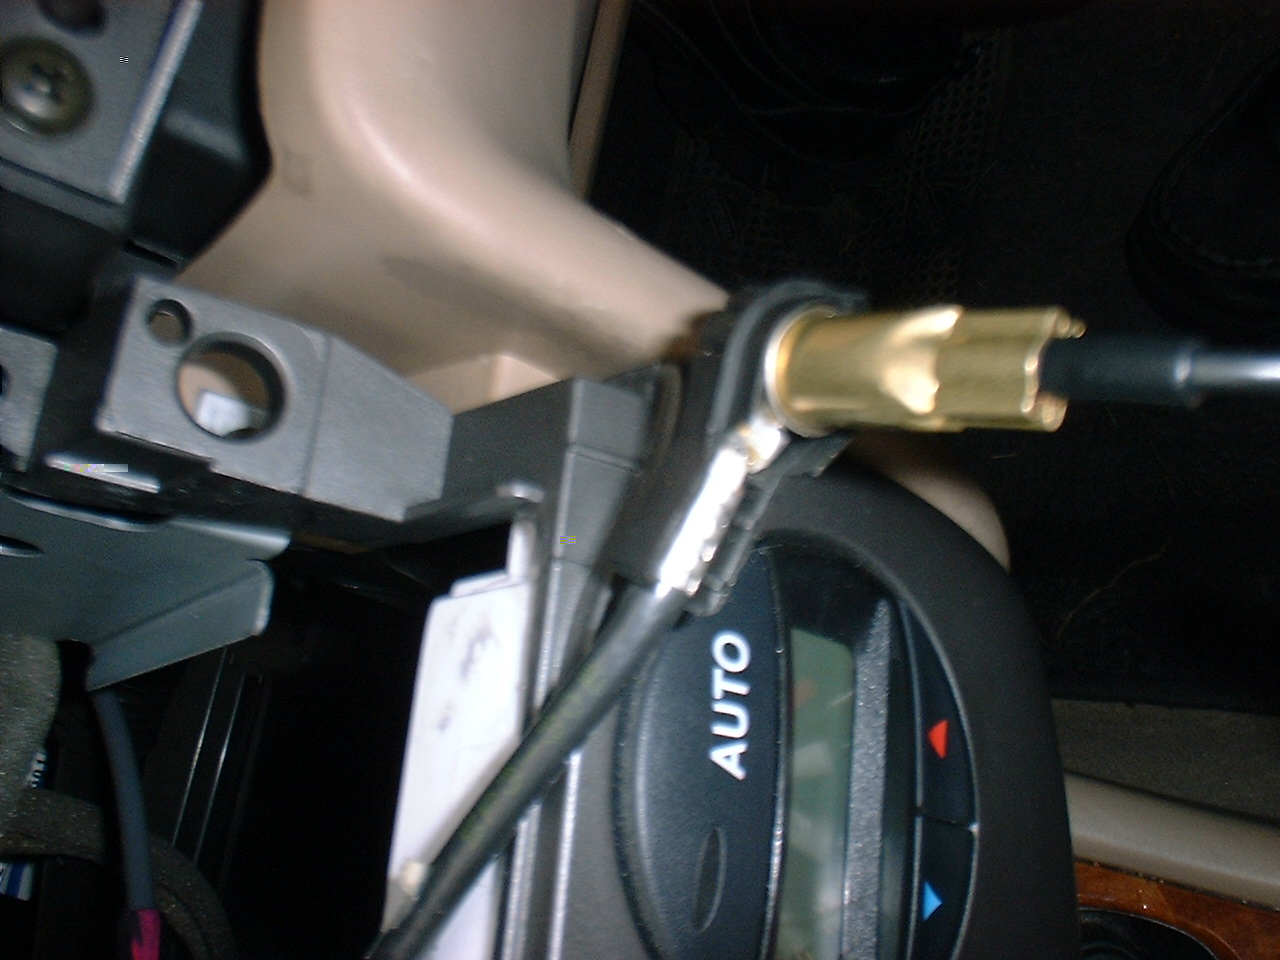
| Check that the ariel fits. Mine didn't but that was nothing a saw couldn't fix (Note, have since learnt a converter cable is about Ł3) | Image Image Image |
Installing |
|
| Connect the hazard light to the brown plug. Then clip in the facia | Image |
| Now you are sure everything works and will fit, insert the cage into the space. Note that it may need convincing. | Image |
| The extracted head unit has a half inch ribber stopper on the end (not pictured) Unscrew this and screw it to the back of your new stereo. This helps to secure it. Now simply insert the new stereo and enjoy your handy work. | Image Image Image Image Image |
|
Need help? email me Nissan Primera Owners Club |
|